I love dim sum. Dolly Dim Sum, Luk Yu Tea House and Lai Po Heen are my favorite places in KL for good dim sum, but unfortunately it’s not often that I get a chance to enjoy their food. One of the typical dim sum I would order are the BBQ chicken buns, or chicken char siu bao. Lately Kak’mbang and I started making pau again using my trusty breadmaker, so I thought, why not try out fillings we haven’t tried before?
So, here we are. I learned how to make chicken char siu using a pressure cooker from a Facebook group I joined, so it was a matter of extending the recipe to make pau filling. The results were beyond satisfying; the filling was very flavorful and quite addictive. Paired with the super soft pau dough recipe I can easily make using my breadmaker, I can now have one of my favourite dim sum any weekend I want, here in the comfort of my home.

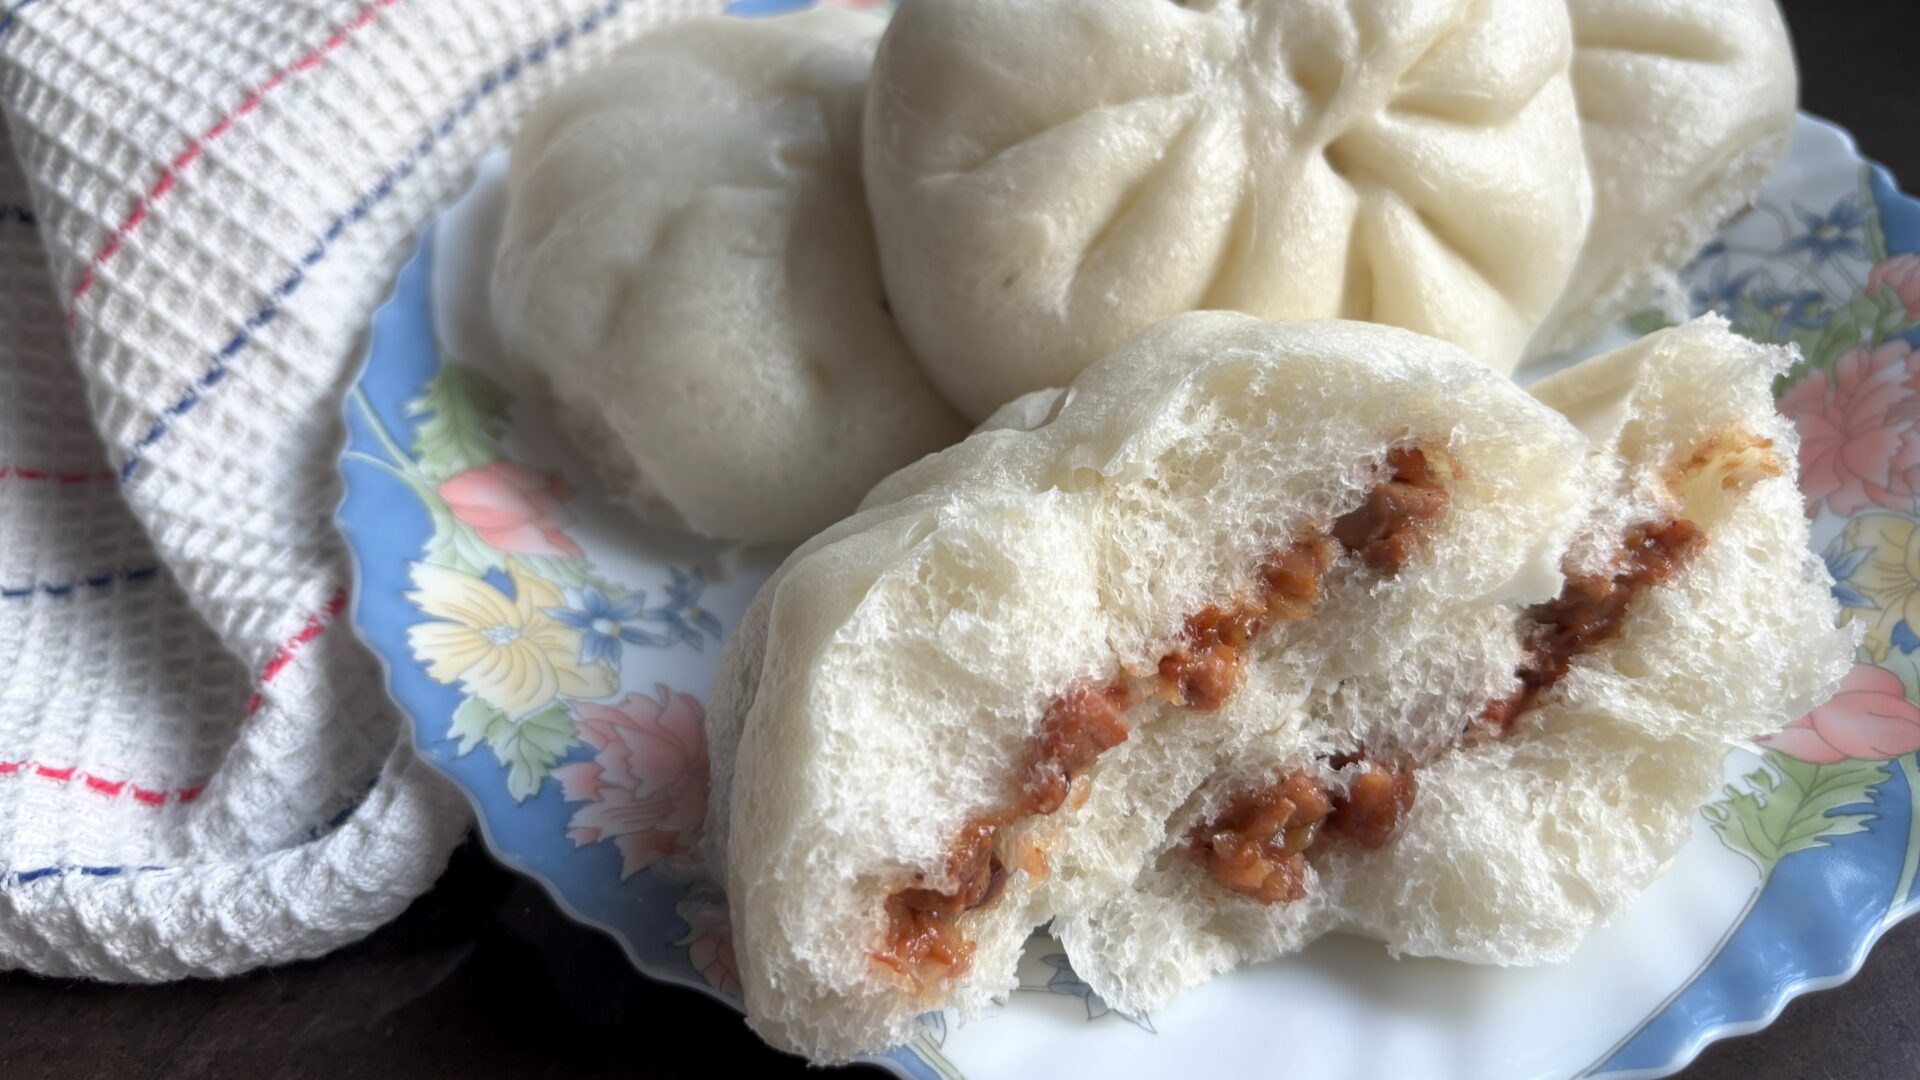
Chicken Char Siew Buns
Ingredients

- 1 recipe pau dough
- 1 1/2 teaspoons cooking oil OR duck fat
- 1 small onion, finely chopped
- 1 recipe (about 500 grams) chicken char siu
- 1 tablespoon oyster sauce
- 1 tablespoon light soy sauce (kicap cair)
- 2 teaspoons sugar
- 1 teaspoon sesame oil
- 1 to 2 drops red food coloring (optional)
- 150 ml water
- 1 1/2 tablespoons cornstarch
Directions
The Char Siu Filling
Make the filling. In a skillet over medium-high heat, heat the oil. Add the onions and cook, stirring, 1 to 2 minutes.

Add the chicken, oyster sauce, soy sauce, sugar, sesame oil, and food coloring if using.

In a small bowl, add the water and cornstarch. Whisk until thoroughly combined.

Add the cornstarch slurry to the pan, and stir to combine.

Bring the mixture to a simmer, until thickened, 3 to 4 minutes.

Remove from heat and let cool. Divide into 16 equal portions.

The Dough
Prepare the dough, using chicken fat in place of the oil and omitting the vanilla essence, if you like.

Divide the pau dough into 16 equal portions.

Prepare 16 pieces of plain paper or reusable silicone baking sheets, about 8cm by 8cm square. Arrange them in your steamer basket, leaving some space in between.

Working with one piece at a time, covering the remaining dough with a damp towel, knead the dough until smooth and shape into a ball. Repeat for the remaining dough.

Assembly
Assemble the char siu buns. On a floured surface, working with one piece at a time, flatten the dough with the palm of your hand. Using a floured rolling pin, roll the dough into a 1/4-inch disc. From the bottom of the disc, roll inwards 1/3 through towards the center. Turn the disc about a quarter turn, and repeat. Repeat until you have a disc with a thinner outer ring but still about 1/4 inch thick in the centre.

Add about 1 tablespoon of filling in the center of the dough.

Pleat to seal. Here’s my favorite video on how to do this nicely.


Place on your prepared paper squares in the steamer basket. Repeat for the remaining dough. Let rest, covered, about 45 minutes.

Steaming
While the buns are resting, prepare your steamer. Wrap the lid of your steamer with a cloth. This is to prevent any condensation from dripping onto your buns and ruining their apppearance.

If an electric steamer is not available to you, add 3 to 4 inches of water in your pot and bring to a boil. Reduce heat to medium low, just enough to sustain the water at boiling point.
Before steaming the buns, lightly spray them with water. Cover tightly with the lid and steam, 10 to 15 minutes.

Do not open the lid and let the buns rest undisturbed for about 10 minutes after turning off the heat. This will prevent them from collapsing.

If you are unable to steam all the buns in one go, place the remaining buns in the fridge, covered, until they are ready for steaming.
Serve warm. Caution: filling is hot!

Leave a Reply