On my last trip to Niseko, Hokkaido, we stayed at the nice and homey Yorokobi Lodge, which had a well equipped kitchenette. Seicomart was just down the road, so we could buy basic staples like eggs, cheese, bread, delicious Hokkaido milk and butter to fix our own breakfast. When we somehow still felt like the munchies after whatever huge dinner we had on some particular night, I made grilled cheese sandwiches using yummy Japanese shokupan.
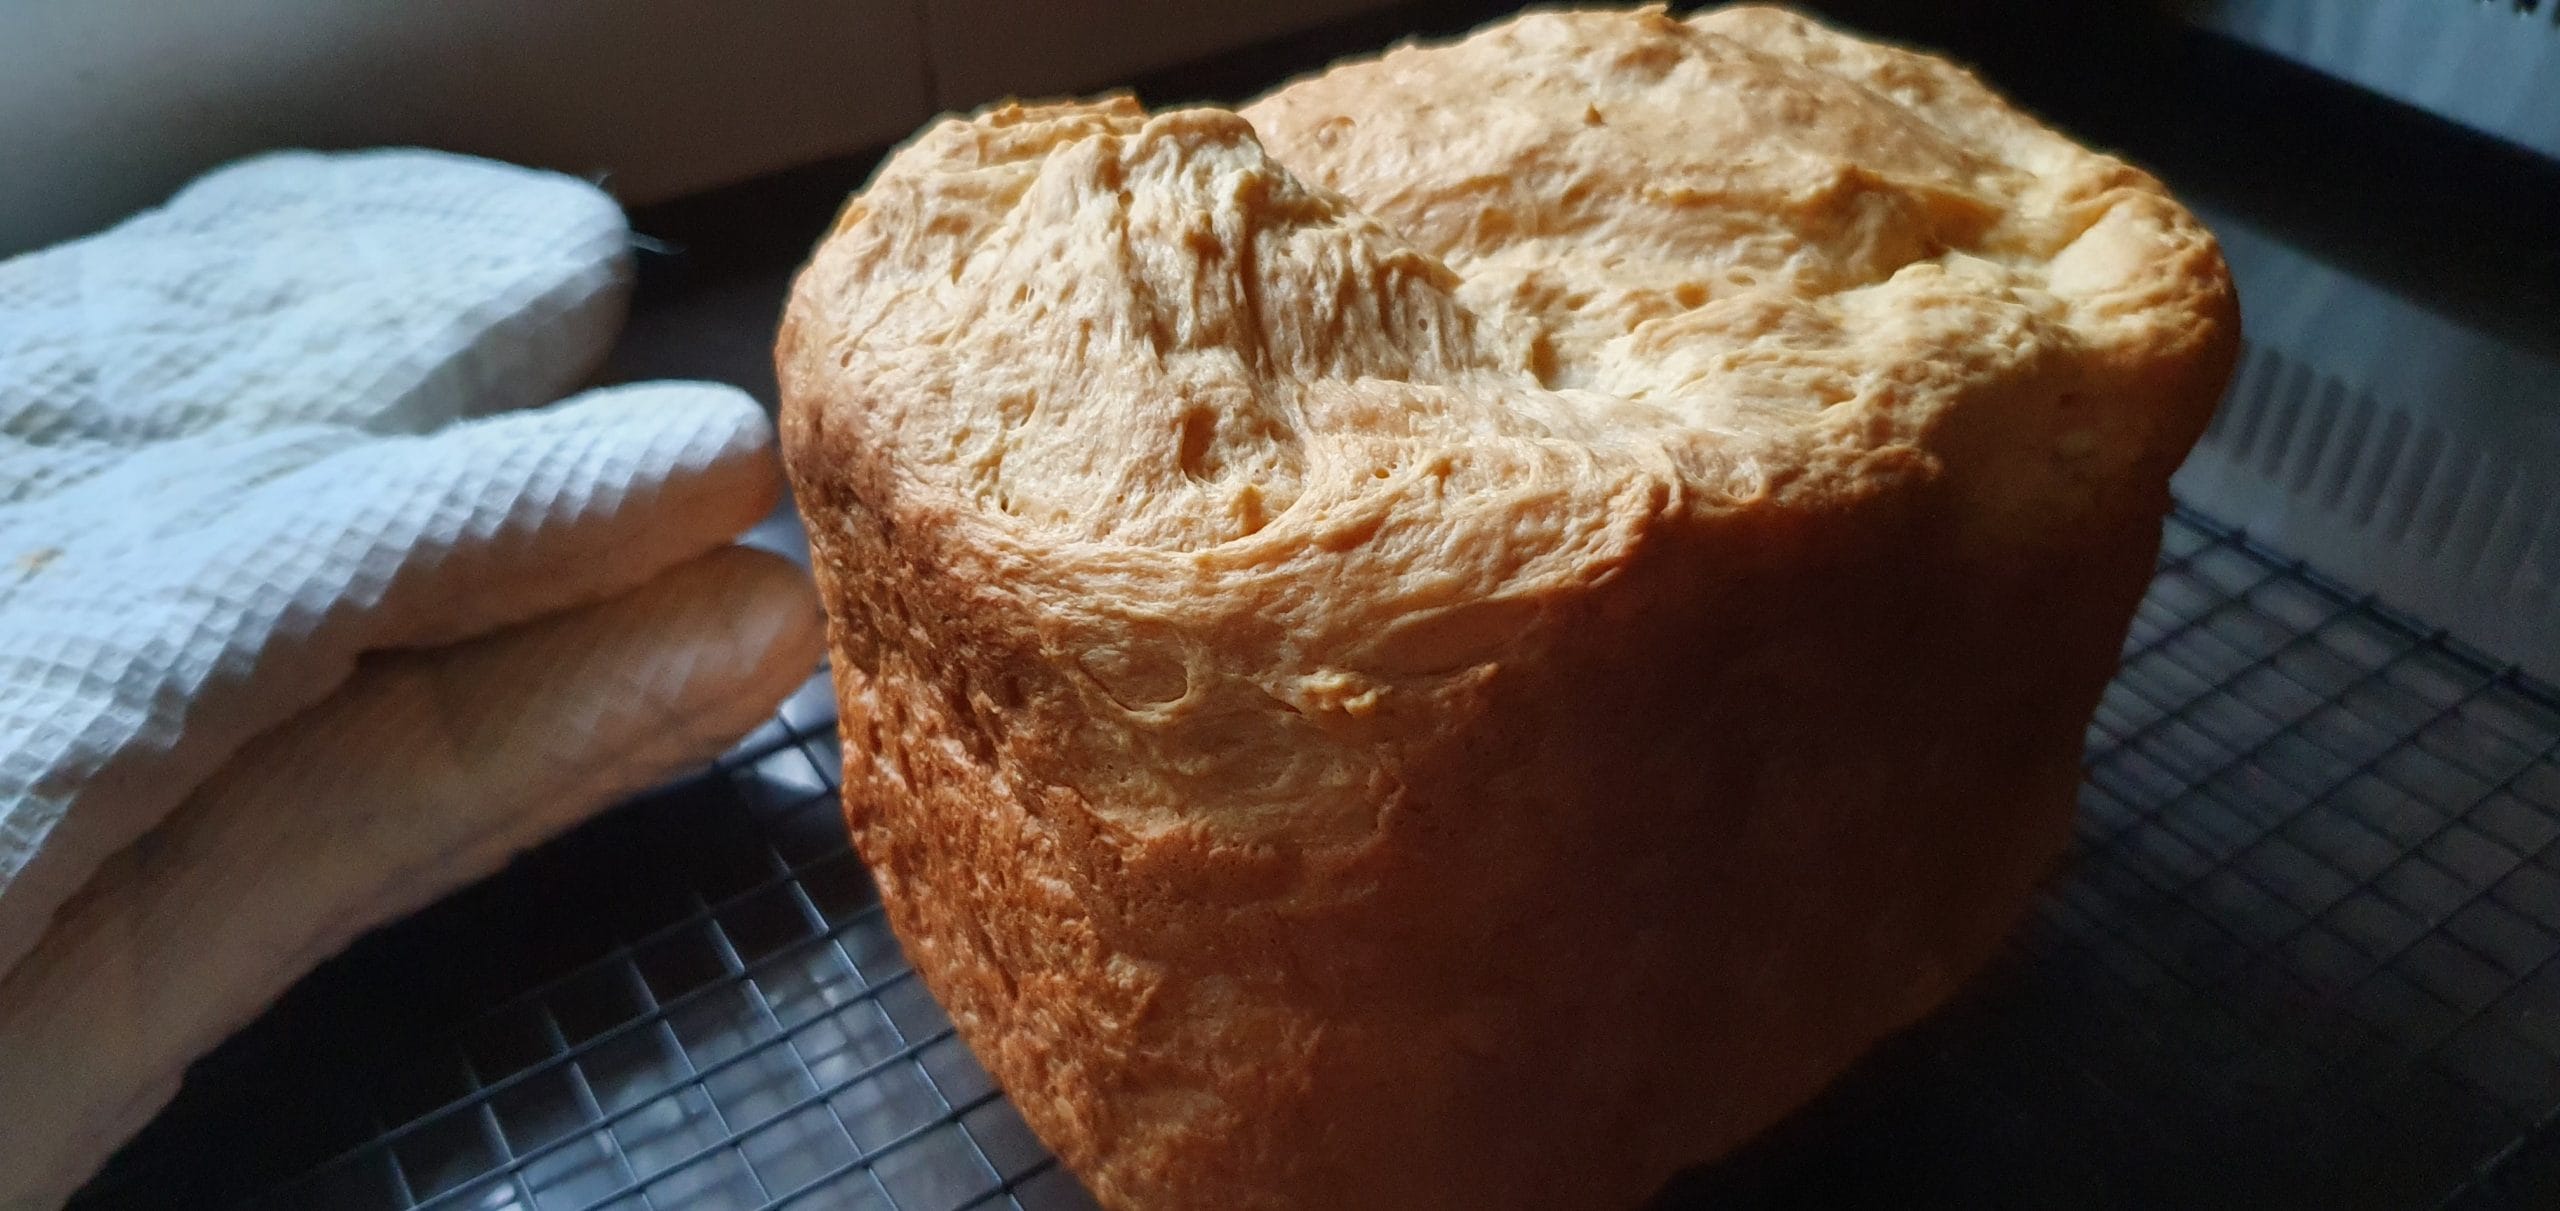
Now that I’m back at home, I’m craving for more shokupan, but we don’t have them here. So naturally I started looking for recipes for homemade shokupan, so that I can make grilled cheese sandwiches again and dream of snowy slopes and our nice, cozy lodge. This loaf is my first try and it turned out nice, but I feel that the texture wasn’t quite there yet. Will keep experimenting.
Based on the recipe by Bakeomaniac.com.
Updated on Feb 27 2022 – with ingredient quantities suitable for the Panasonic SD-P104WSK breadmaker. Add all the dry ingredients except the yeast to the machine, followed by the egg and milk. Add the yeast into the yeast dispenser, and use the Basic bread setting (Program 1) with a Light crust.
Hokkaido Milk Loaf
Ingredients
- 1 large egg (about 55 grams), brought to room temperature
- 60 grams unsalted butter, melted | 55 grams cold, cut into pieces
- 140 grams | 120 grams full cream milk
- 330 grams | 300 grams bread flour
- 1 tablespoon | 14 grams non-dairy creamer OR milk powder OR malt extract
- 50 grams | 45 grams granulated sugar
- 3/4 teaspoon | 1/2 teaspoon salt
- 1 tablespoon | 1 1/2 teaspoons instant yeast
Directions
In your breadmaker pan, add the egg, melted butter, and milk.

Add the bread flour, creamer OR milk powder OR malt extract, sugar, salt, yeast.

Transfer the pan to your breadmaker and lock it in place. Select the Sweet Bread program for a 500-gram loaf at your preferred crust color, and start the machine.

When done, remove the bread from the pan and transfer to a wire rack.

Let cool for at least 30 minutes. Slice and enjoy!


Leave a Reply