I think my first time ever dabbling with cooking using animal fat was when I made Jamie Oliver’s roast duck. The recipe uses fat rendered from the duck to make incredible duck fat roast potatoes, leaving a lot of fat to spare for other uses. Another recipe I made was duck fat mashed potatoes, which was based on a recipe that originally uses chicken fat. Since then I’ve been finding different ways to use up the leftover duck fat I have on hand, in vegetable stir fries, for frying potatoes, even in savory bread dough. Even though I rarely cook duck, I still accumulate chicken skin and fat trimmed off from my everyday meal prep, so from time to time I am able to replenish my stock of poultry fat.
I’ve looked at a few different videos and websites on how best to render duck or chicken fat from skin. Many suggest starting in a cold pan or pot over medium low heat and adding some water. However, after multiple tries, the skin keeps ending up sticking to the bottom of the pot, often overbrowning or even burning. This results in dark-colored fat, and not to mention a much more difficult cleanup.
I decided to take a step back and look for a better method. I recalled when making seared crispy duck breast, the duck was placed skin-side down in a cold pan and heated over medium low heat. This method slowly renders out the fat, resulting in crispy skin. With this in mind, why not do the same thing with chicken skin? After some searching I found a video by Mary’s Nest which confirms my theory. Starting the skins in a cold shallow pan, without any added water, renders the fat really well. The skin also eventually ends up floating on the surface of the fat, sparing you the trouble of scraping crusty bits from the bottom of the pan later. This is now my trusted method for rendering chicken or duck fat.
If you’re the type to trim or remove the skin and fat from chicken when cooking, consider saving them. I usually make a new batch every time I have about a kilogram’s worth. Rendered chicken fat is truly like liquid gold, a small amount can give such great aroma to your dishes. The cracklings are an added bonus; season with your favorite flavors and enjoy an addictive (albeit unhealthy) snack. Do give it a try!
Step by Step
Using kitchen shears, cut the chicken or duck skin into small, bite-sized pieces.

With the stove still off, in a wide pan, spread the chicken skin in an even layer.

Turn on the stove at medium low heat and cook the skins undisturbed. After 10 to 15 minutes, you will start to see liquid coming out of the skins, mixed in with rendered fat.

Continue simmering the skins in the fat, stirring occasionally, until all the liquid has evaporated and skins are crispy and golden brown, about 1 hour. By the end, you should see barely any bubbling in the fat.


Remove the skin from the fat and drain over a wire rack. Let the fat cool completely.
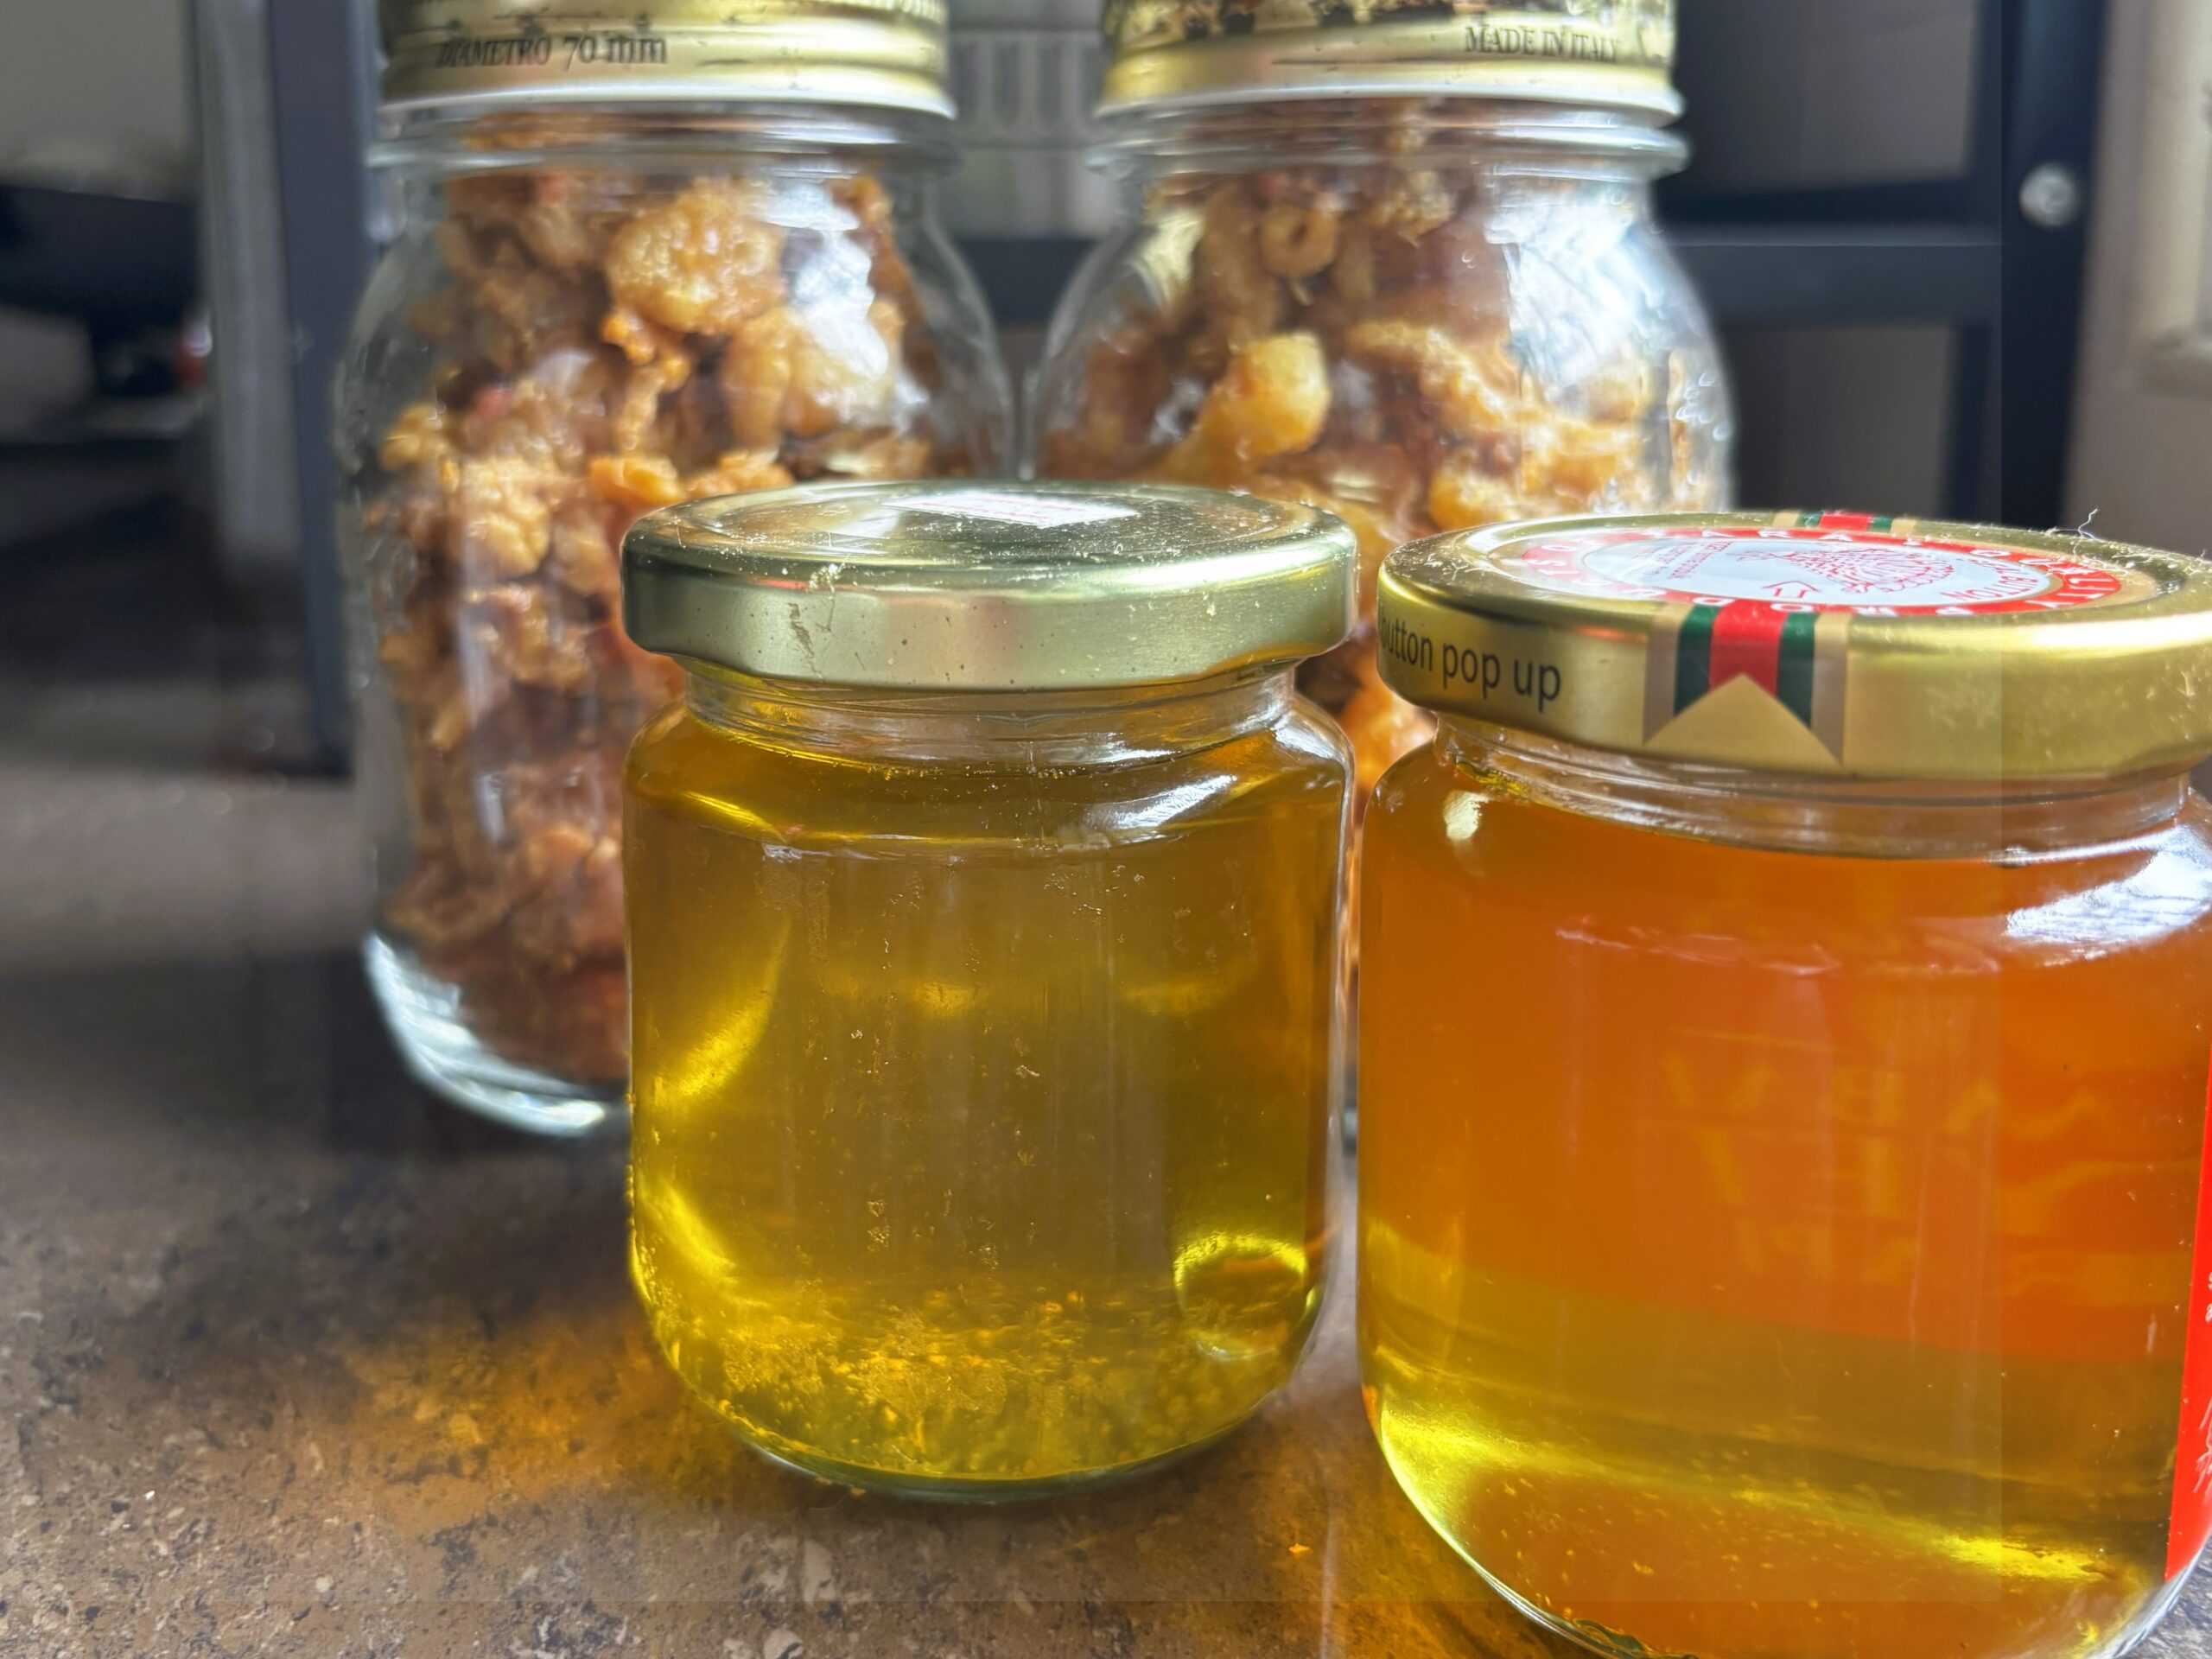
Strain the fat into airtight glass jars. Rendered chicken or duck fat will keep in the refrigerator for a few months, and well beyond 6 months in the freezer.

The remaining cracklings can be seasoned with your favorite flavorings and eaten as a snack. Let cool completely and store in an airtight jar.

Leave a Reply